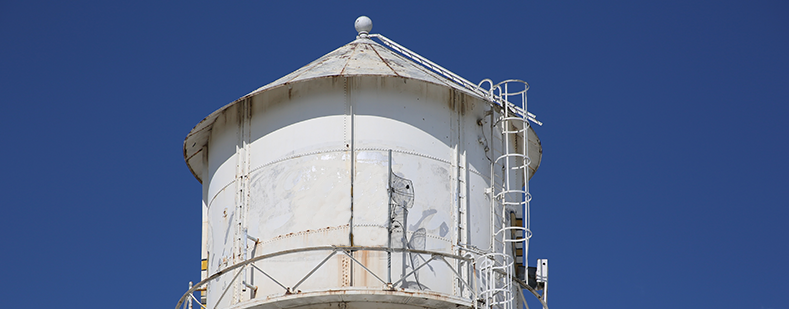
Imagine a 50 year old municipal water tank. It’s only been five years since it was last coated, but for some reason the paint is already starting to fail. Rust can be seen spotting all over the tank’s exterior. If we were to do a forensic style analysis on the surface of the tank and the flaking paint chips, we’d most likely see that poor surface preparation is to blame for the failure.
NACE INTERNATIONAL has identified inadequate surface prep as being responsible for over 75% of coatings failures. This includes imparting a surface profile too large or too small for the applied coating, as well as leaving invisible contaminants on the surface (like chlorides). To avoid problems with surface preparation, care must be given to follow the specification from the coatings company. If the specification is not followed, warranties on the coating often become invalidated, leaving the cost of repair (or replacement in a worst case scenario) up to the asset owner.
Often before a blast and paint project begins, an asset owner or manager (like a municipality) will contract with an engineering firm to write a project specification (or spec). The project spec will include the best coating for the project and surface cleanliness requirements prior to recoating. Contractors will use the spec to price a project and submit their bid.
The coating specification provides recommended profile (usually a range) and level of surface cleanliness as expressed through various standards (most commonly ISO, NACE or SSPC). Both the profile range and surface cleanliness level must be met before the new coating is applied. The most common surface cleanliness designations are White Metal Blast Cleaning (SSPC-SP 5 / NACE No. 1), Near-White Blast Cleaning (SSPC-SP 10 / NACE No. 2) Commercial Blast Cleaning (SSPC-SP 6 / NACE No. 3), and Brush-Off Blast Cleaning (SSPC-SP 7 / NACE No. 4).
As mentioned above, the project specification will include details about the required anchor profile rage. This is typically sourced from the coating manufacture as profile requirements vary by coating. Anchor profile is the average measurement of the peaks-to-valleys on the substrate created by abrasive blasting. Also known as surface profile, this peak-to-valley distance is typically measured in either microns or mils (or thousandths of an inch). There are several ways to measure surface profile including replica tape or a pin gauge.
To learn more about surface preparation, view our piece on The 5 Keys to the Best Surface Prep, written with corrosion expert Jon Cavallo.


